 How-to
How to Identify Superior Apparel Craftsmanship
Table of Contents
- Why Apparel Craftsmanship Matters
- What GSM Means for Cotton Fabric
- How to Check Clothing Seams and Stitching
- How to Inspect a T-Shirt Before Buying
- Step 1: Read the Tag Before You Touch the Fabric
- Step 2: Feel the Fabric in Both Directions
- Step 3: Check the Collar and Neckline First
- Step 4: Trace the Seams With Your Fingers
- Step 5: Test the Stress Points
- Step 6: Examine Any Print or Graphic
- Step 7: Check Hardware and Fasteners (If Present)
- Step 8: Try It On and Move
- Signs of Poor-Quality Construction
- Testing Durability Through Wear and Care
- Evaluating Quality When Shopping Online
- Frequently Asked Questions
Last Updated: October 21, 2026
Why Apparel Craftsmanship Matters
Superior apparel craftsmanship is about durability, comfort, and confidence in what you wear. At AW3SOME CLOTHES INC, we focus on quality construction because it separates a shirt you'll wear for years from one that falls apart after a season.

Understanding how to identify superior apparel craftsmanship helps you make smarter purchases and spot the details most shoppers miss. This guide covers how to evaluate fabric, stitching, seams, and fit before you buy.
What GSM Means for Cotton Fabric
GSM stands for grams per square meter. It measures fabric weight, and a higher GSM means more weight and density. Standard t-shirts often weigh 150-180 GSM; premium heavyweight tees run 240-260 GSM, a difference you notice on touch.
Heavier isn't always better: a 180 GSM shirt breathes easier in heat, while a 245-255 GSM shirt feels more substantial and holds its shape through repeated wear and washing. Our tees at AW3SOME use 7.5 oz (245-255 GSM) cotton, a weight that supports crisp print detail.

How to Check Clothing Seams and Stitching
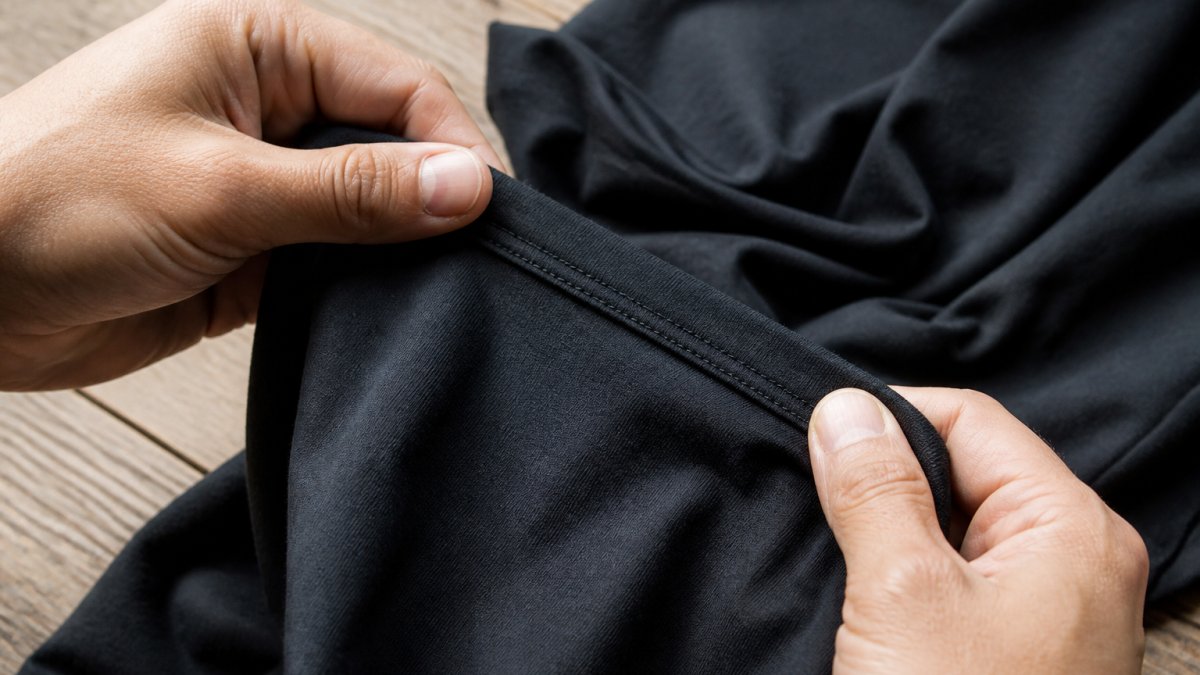
Seams and stitching reveal more about quality than almost anything else. A well-made garment has tight, even stitches and seams that sit where they should; poor construction shows up as loose threads, crooked lines, and weak seams.
Stitch Density and Consistency
Stitch density refers to how many stitches appear per inch. More stitches per inch create stronger seams and a more finished look. Run your finger along a seam: tight, dense stitching feels smooth, while loose stitching creates visible gaps and weak points. Stitching should also be uniform end to end, tight at the shoulder but loose at the cuff signals rushed manufacturing.
Seam Alignment and Finishing
Seams should run straight and sit flat. Crooked seams pull awkwardly when you move and wear out faster. Check shoulder seams first, they should align with the edge of your shoulder, since misalignment throws off the fit. Side seams should run vertically without twisting, which signals poor construction or fabric that shifted during manufacturing.
How to Inspect a T-Shirt Before Buying
Most guides hand you a pile of quality cues and leave you to remember them in a fitting room. A better approach is a fixed sequence, run in the same order every time. The order below moves from the tag outward, because the label tells you what the fabric is supposed to be and everything after that tests whether the garment lives up to it.

Step 1: Read the Tag Before You Touch the Fabric
Start with fiber content and care instructions. The tag tells you whether you are looking at 100% cotton, a cotton/poly blend, or something else, and blends behave differently: they may resist shrinkage but can pill or hold odor differently than pure cotton. If a brand advertises heavyweight fabric but the tag gives no weight, treat the claim as marketing until you can verify it.
Step 2: Feel the Fabric in Both Directions
Rub the fabric one way, then the opposite way. Quality cotton feels consistent in both directions. If one direction feels fuzzy and the other smooth, the fibers are unevenly aligned, which often shows up later as pilling. Squeeze a handful and release it. Good fabric springs back; papery fabric collapses and stays creased.
Step 3: Check the Collar and Neckline First
The collar is where cheap shirts fail first. Hold the shirt up: the neckline should sit flat and symmetrical, not wavy or puckered. Feel inside the back of the neck for neck tape, which covers the seam and reduces chafing and stretch. Gently stretch the collar and release it, a reinforced collar returns to shape, while a weak one stays stretched.
Step 4: Trace the Seams With Your Fingers
Run a finger along the shoulder seams, side seams, and hems, checking straightness, stitch consistency, and finishing at once. Seams should run straight without twisting, and stitches should be uniform end to end. Look for double-needle stitching on stress areas like hems and necklines, where two parallel rows add strength. Check that seam allowances inside are trimmed and finished rather than raw and fraying.
Step 5: Test the Stress Points
Gently pull at the underarm seam, sleeve hem, and bottom hem. Quality construction holds without puckering or gaping. A smooth, flat sleeve seam that lies against the body beats a bulky, twisted one, and a bottom hem whose fabric ripples along the stitch line signals machine tension problems.
Step 6: Examine Any Print or Graphic
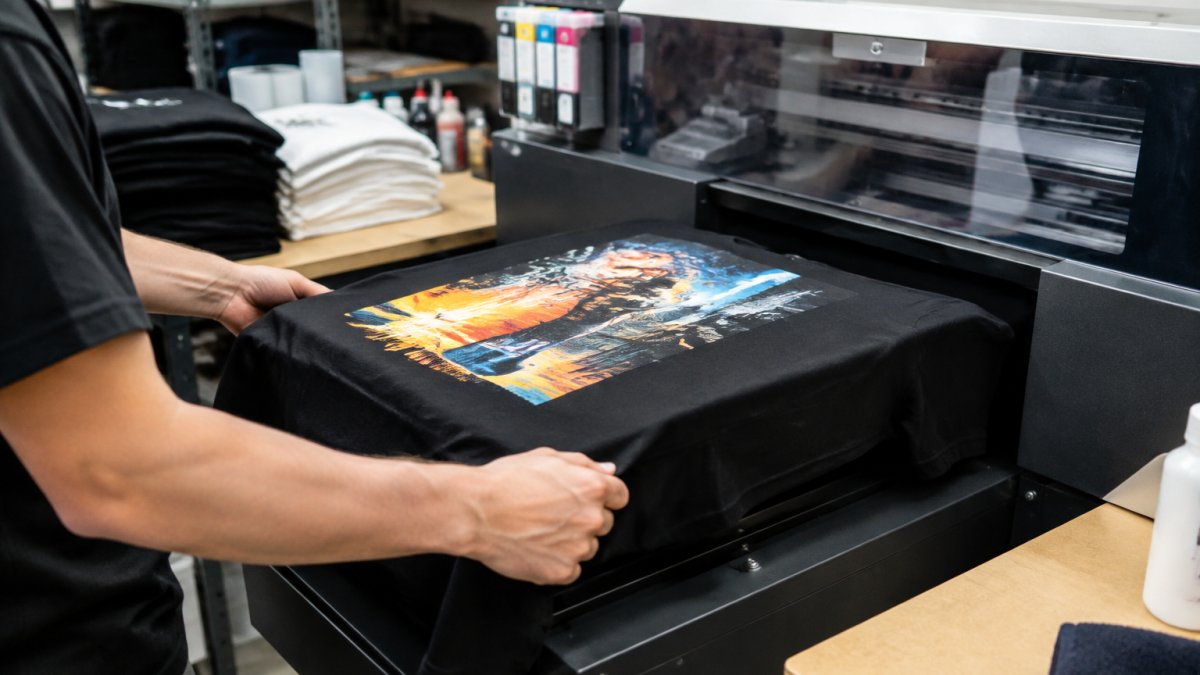
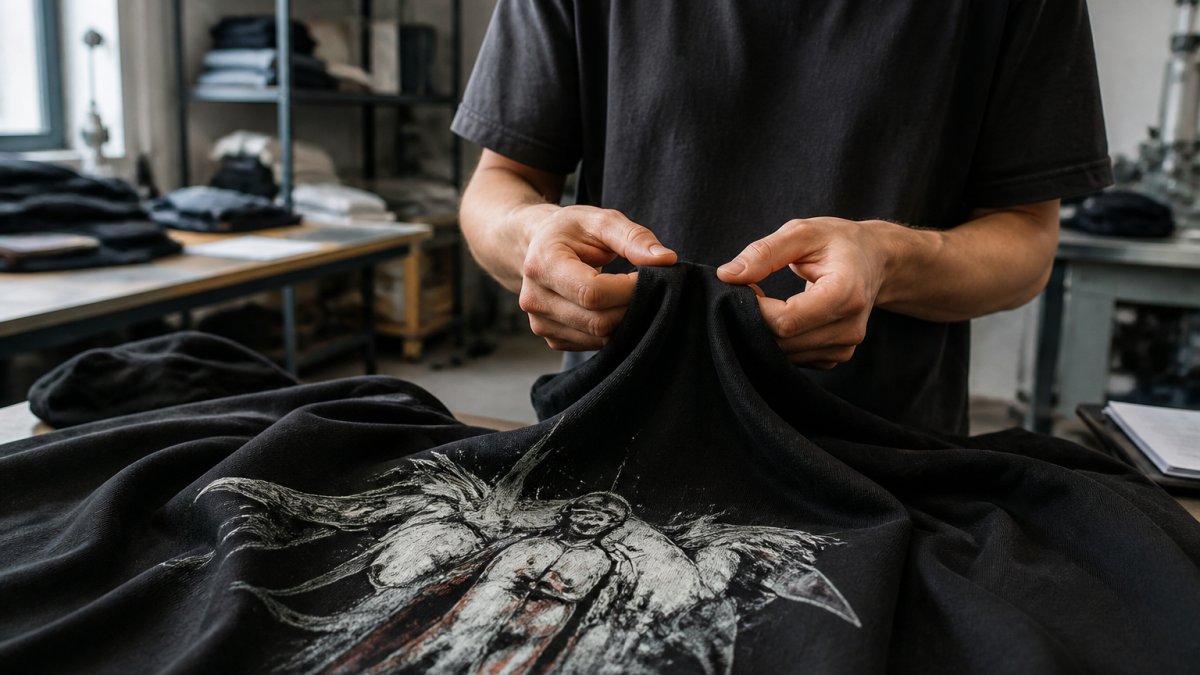
If the shirt has a graphic, feel the print. A quality direct-to-garment print feels smooth and slightly raised, not thick or rubbery. Crisp edges indicate clean printing, while fuzzy or bleeding edges suggest the ink bled into the fabric. Bend the printed area gently, a good print flexes with the fabric, and look for even color coverage, since spotty patches point to inconsistent printing.
Step 7: Check Hardware and Fasteners (If Present)
Many tees have no hardware, but if yours has buttons, snaps, or a zipper, test them. Buttons should sit flush with securely knotted thread, zippers should glide without catching, and snaps should be anchored with reinforced stitching underneath.
Step 8: Try It On and Move
Fit is part of construction. Raise your arms, roll your shoulders, and bend forward. Seams should stay put and the shirt should not ride up or twist. Check that the shoulder seam sits at the edge of your shoulder and side seams run vertically rather than pulling forward or back. A shirt that fits on the hanger but twists when you move has a construction problem, not a sizing problem.
Signs of Poor-Quality Construction
Knowing what to avoid saves time and money. Here are the red flags.
Loose or uneven stitching indicates rushed manufacturing and comes apart at stress points.
Pilling or fuzzing means low-quality cotton or harsh processing.
Loose threads hanging from seams or hems signal seams that weren't finished properly.
Thin, flimsy fabric that feels papery will lose shape and develop holes quickly.
Unfinished or raw seams will fray and unravel.
Buttons or fasteners that move loosely will come off or break within a few wears.
Testing Durability Through Wear and Care
The real test of quality happens over time. Machine wash your new shirt in cold water with similar colors, dry it on low heat or hang dry, and check it after the first wash for shrinkage, fading, or damage. Quality garments shrink minimally and maintain their shape; poor-quality shirts shrink noticeably or fade significantly.
Evaluating Quality When Shopping Online
Online shopping removes your hands, so you have to replace touch with evidence. The goal is to find product pages with enough specific information to make a judgment, and to read the absence of information as a signal too.
Read the Specs Like an Inspector
Look for specific, verifiable numbers rather than adjectives. Fabric weight (in GSM or ounces), fiber content, yarn type, and construction details are the specs that matter; "premium quality" and "durable fabric" are not. If a page lists fabric weight, fiber content, and features such as double-needle stitching or neck tape, the brand is telling you what it built.
Judge the Photos by What They Show, Not How They Look
Stylized lifestyle photos tell you how a garment looks on a model, not how it is made. Look for close-ups of the collar, cuffs, hem, and seams, a brand that photographs its stitching is usually proud of it. Zoom in to check whether stitches look even and seams run straight. If every photo is a full-body shot at an angle, you are seeing marketing, not construction.
Use Customer Photos as a Second Opinion
Customer images are the closest thing to handling the garment. Look for photos taken in normal light, especially after washing. They show real-world shrinkage, fading, and how the collar holds up. Read reviews that mention specific issues, pilling, seam failure, print cracking, rather than generic praise. A pattern of the same complaint across several reviews is more informative than a single five-star rating.
Check the Return Policy as a Quality Signal
A generous, clearly stated return policy suggests a brand expects its garments to meet expectations. A restrictive policy, short windows, no returns on sale items, customer-paid shipping both ways, raises the cost of being wrong. Read the fine print before you buy.
Compare Like With Like
When comparing two shirts, line up the same specs side by side: fabric weight, fiber content, construction features, and printing method. A heavier fabric is not automatically better, it depends on intended use, but a brand that states its weight and construction is easier to evaluate than one that does not.
Know What You Cannot Verify Online
Some quality dimensions do not show up in photos or specs: how the fabric feels against your skin, how the garment drapes on your body, and how it holds up over months of wear. Be honest about those limits. Use the specs and photos to narrow your choices, then rely on the return policy to cover the gap between what you can see and what you can only learn by wearing.
Frequently Asked Questions
How can you tell if a T-shirt is made from quality cotton?
Quality cotton feels soft and smooth against the skin, without scratchiness or stiffness. Check the fiber composition on the label, 100% cotton or high-percentage cotton blends signal better quality than low-cotton mixes. Run your hand across the fabric; it should feel dense and substantial, not thin or papery. Examine the surface for evenness; premium cotton has a consistent weave with no visible lumps, thin spots, or pilling. Weight matters too, fabric in the 7.5 oz range (245-255 GSM) offers durability without excessive stiffness, making it ideal for garments that age gracefully.
What should you check when inspecting garment seams?
Look for straight, even seams with consistent stitch spacing, typically 12-16 stitches per inch in quality apparel. Run your finger along each seam; it should feel smooth and lie flat against the fabric, not pucker or bunch. Check that thread color matches the garment and that stitches are tight enough to resist pulling but not so tight they distort the fabric. Examine seam endings; they should be secured with a knot or backstitching, not left loose. Double-needle stitching on hems and necklines indicates reinforcement and longer garment life. Pay special attention to stress points like armholes, shoulder seams, and hem corners, these reveal construction quality most clearly.
Does heavier fabric always mean better clothing quality?
Heavier fabric (higher GSM) offers durability and a substantial hand-feel, but weight alone doesn't determine quality. A garment's craftsmanship, stitch density, seam finishing, fiber content, and construction methods, matters equally. Lightweight fabrics can be expertly made and long-lasting; heavyweight fabrics can be poorly constructed. The relationship between weight and quality depends on the garment type and intended use. For everyday wear tees, 7.5 oz cotton provides an ideal balance of durability, comfort, and print longevity. What matters most is how well the fabric is woven, how carefully seams are finished, and whether the garment is built to withstand repeated wear and washing.
What are signs of poor-quality clothing?
Poor-quality garments show loose or uneven stitching, crooked seams that pucker or gap, and loose threads left unfinished. Examine the fabric for thin spots, pilling, or a rough, scratchy feel. Check for loose buttons or weak fasteners that pull away from the fabric. Misaligned graphics or prints that crack easily after a few washes indicate low-quality printing or thin fabric that can't hold detail. Hems that are wavy, bunched, or poorly finished suggest rushed construction. Examine the neckline and armholes, they should sit smoothly without gaping or stretching. Missing or cheap labels, unfinished seam edges, and visible glue residue all point to corner-cutting in manufacturing.