 How-to
Ironing Screen-Printed Shirts: A Safe Step-by-Step Guide
Last Updated: November 4, 2026
Quick Summary
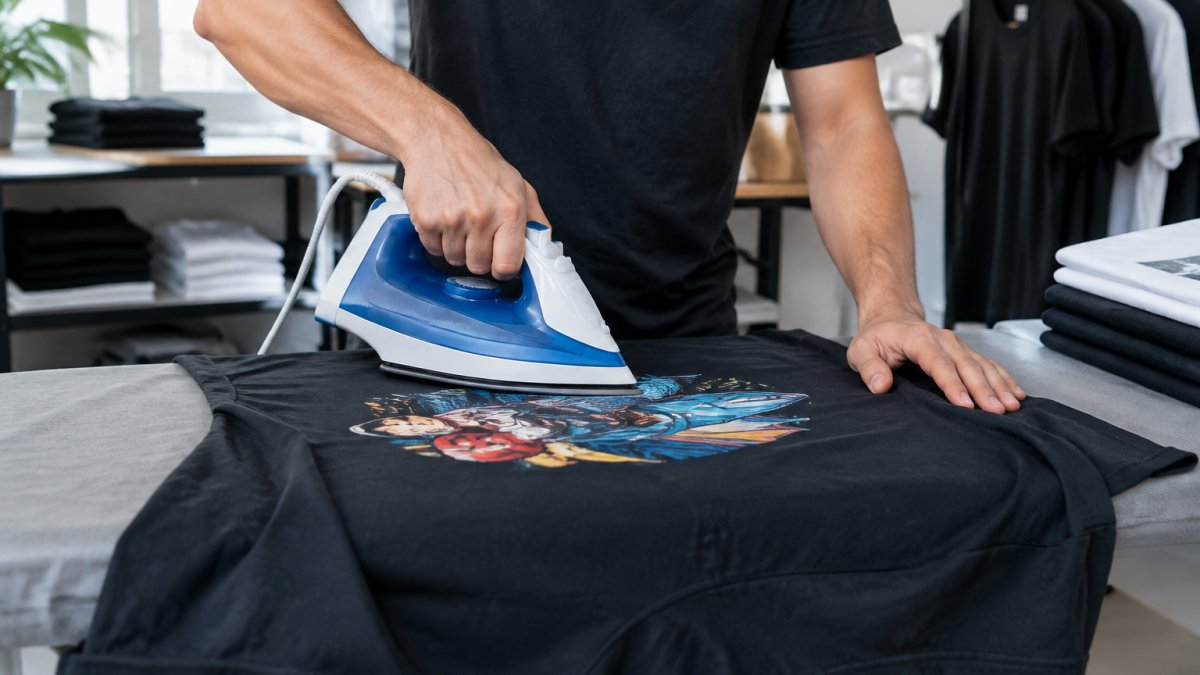
Ironing screen-printed shirts safely means turning the shirt inside out, setting the iron to low or medium heat with steam off, and placing a thin cotton barrier cloth over the print. Press the print area last and briefly, about ten to fifteen seconds, keeping the iron moving.
- Iron the shirt, not the graphic: direct heat softens the ink layer and can cause sticking, shine, cracking, or scorching.
- Use a thin cotton pressing cloth or clean white pillowcase as a barrier between the iron and the ink.
- Skip spray starch, since it can leave a residue that dulls the print over time.
- Hold the iron still on a print for more than a few seconds and you risk a permanent shine mark.
- A handheld steamer releases wrinkles without contact, so there is zero risk to the print.
Table of Contents
- Why Screen-Printed Shirts Need a Different Ironing Method
- What You'll Need Before You Start
- Step-by-Step: How to Iron a Shirt With a Screen Print
- Best Practices for Ironing DTG Prints
- How to Remove Wrinkles From Heavyweight Cotton Shirts
- Temperature, Steam, and Print Type: Getting the Settings Right
- When the Iron Touches the Print: Troubleshooting Damage
- Steamers, Air-Drying, and Other Ways to Skip the Iron
- Frequently Asked Questions
Why Screen-Printed Shirts Need a Different Ironing Method
Ironing screen-printed shirts needs a different method because the ink sits on top of the fabric, not inside it. Direct heat softens that ink layer. Press too hard or too long and the print can stick, shine, crack, or scorch. Heat and pressure are the enemy of a clean print.
Here's the core rule. Iron the shirt, not the graphic.
Most damage happens in seconds. A hot soleplate touches the ink, the ink softens, and the fibers fuse to it. Peel the iron away and you lift a chunk of the design. That's why learning how to iron shirts with screen prints safely comes down to three habits: low heat, a barrier, and keeping the iron moving.
The good news: wrinkles are fixable. Melted ink is not.
What You'll Need Before You Start
Gather your tools first so you're not scrambling mid-press. You need four things:
- An iron with an adjustable heat dial
- A thin cotton pressing cloth or a clean white pillowcase
- A sturdy ironing board
- Distilled water if your iron uses steam
Skip the spray starch. It can leave a residue that dulls the print over time.
The Barrier Cloth: Your Most Important Tool
The barrier cloth is a thin cotton layer placed between the iron and the shirt. It spreads heat evenly and blocks direct contact with the ink. A plain white pillowcase works. So does a cotton tea towel.
Avoid anything with a printed design or synthetic fibers. Dyes can transfer, and synthetics can melt onto your shirt. Keep the barrier thin so heat still reaches the fabric.
Step-by-Step: How to Iron a Shirt With a Screen Print
Follow these steps in order. The whole job takes about five minutes.
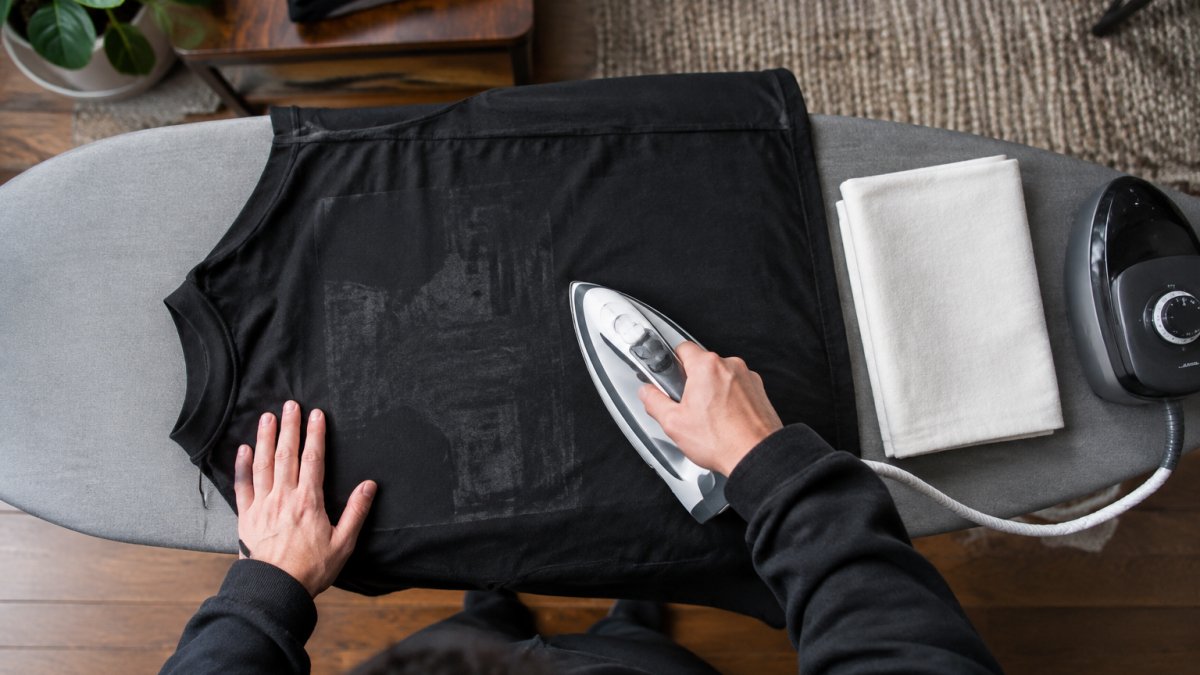
- Turn the shirt inside out. This puts the fabric between the iron and the ink.
- Set the iron to low or medium heat. Start low. You can always add heat, but you can't undo a scorch.
- Empty the water tank or turn off steam. Dry heat is safer for prints. Moisture plus heat can make ink tacky.
- Lay the shirt flat on the board. Smooth it with your hands so there are no hidden creases.
- Press the body and sleeves first. Keep the iron moving in small circles. Never hold it in one spot.
- Add the barrier cloth over the print area. This is your safety net.
- Press the print area last, and briefly. Ten to fifteen seconds is enough. Lift and check.
Step 4: Press the Print Area Last, and Briefly
Why last? Because when ironing screen-printed shirts, the print is the most fragile part. If you press it first, you risk reheating it with every pass over the rest of the shirt. Save it for the end, use the barrier, and keep contact short.
Watch out: holding the iron still on the print for more than a few seconds is the fastest way to create a permanent shine mark. Keep it moving.
Best Practices for Ironing DTG Prints
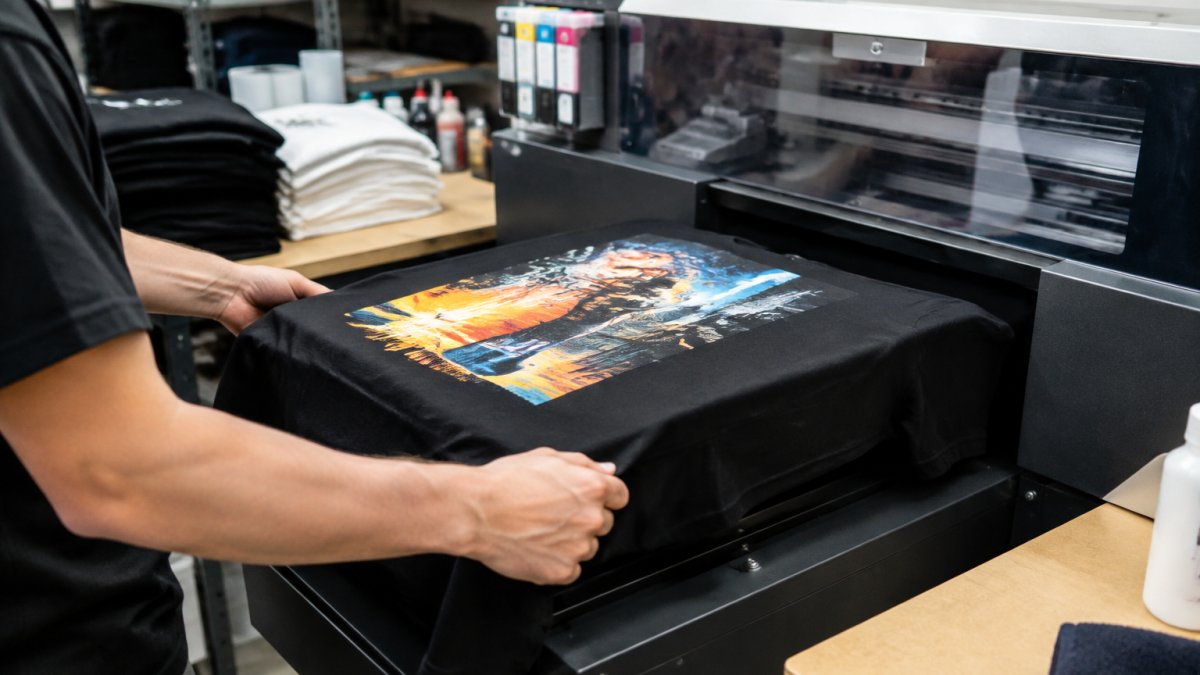
DTG ink bonds into the fabric fibers, but it still responds to heat. Graphics on AW3SOME tees are printed with DTG, so every print should be treated as heat-sensitive.
Here's what works:
- Iron inside out whenever possible
- Use a barrier cloth over any printed area
- Keep the iron on low to medium heat
- Skip steam entirely on print days
- Let the shirt cool flat before you wear or fold it
A common mistake is rushing with high heat. It feels faster, but it's the leading cause of cracked and shiny graphics. If you're investing care into a DTG-printed tee, it helps to know how long durable streetwear clothes last with proper handling.
How to Remove Wrinkles From Heavyweight Cotton Shirts
Heavyweight cotton wrinkles differently than thin fabric. The denser weave holds creases longer, and it needs a bit more patience. The 7.5 oz (245-255 GSM) weight of AW3SOME's heavyweight tees is a substantial, structured fabric.
To smooth a heavy cotton shirt:
- Turn it inside out and mist lightly with water
- Use medium heat, not high
- Work in sections, pressing each area twice
- Hang the shirt immediately after ironing
If you want to understand why the fabric behaves this way, our guide on what makes a T-shirt feel heavyweight breaks down the weave and weight.
Temperature, Steam, and Print Type: Getting the Settings Right
Iron dials are not standardized, so a setting on one iron can run hotter than the same setting on another. A "2" on one iron can run hotter than a "3" on another. What matters is the actual surface temperature and how long the soleplate stays in contact with the ink.
If your iron has a fabric guide, the "silk" or "wool" setting usually lands in that range; "cotton" and "linen" run hotter and are where scorching and shine marks start. When a label and a dial disagree, trust the garment care label first and test on an inside hem before pressing the visible print.
Steam deserves its own note. Moisture plus heat is what makes many inks tacky, and steam also adds pressure cycles as the iron pulses. Turn steam off for any printed area.
Print type changes the safe window:
| Print Type | Typical Heat Sensitivity | Heat Setting | Steam | Barrier Cloth | Direct Iron on Print |
|---|---|---|---|---|---|
| Screen print (plastisol) | Moderate, ink sits on top and softens with sustained heat | Low to medium | Off | Yes | Never |
| Water-based screen print | Moderate to high, ink cures into the fibers but still reacts to heat | Low | Off | Yes | Never |
| Discharge print | Lower, the design is dyed into the fabric, not layered on top | Low to medium | Off | Recommended | Avoid |
| DTG | Moderate, ink bonds into fibers but remains heat-sensitive | Low | Off | Yes | Never |
| Vinyl / heat transfer | High, film can lift, curl, or melt | Low | Off | Yes | Never |
| Embroidered | Low to moderate, thread and backing are the concern | Low to medium | Off | Optional | Avoid stitching |
A few practical reads on that table. Plastisol is the most common screen-print ink and behaves like a thin plastic layer; it can take brief low heat but will gloss over if held too long. Water-based inks feel softer and more breathable but can still stiffen or fade under prolonged heat.
Watch out: if your iron has no temperature markings, start at the lowest setting, press a hidden inside seam for a few seconds, and check for shine or tackiness before moving to the print.
When in doubt, go lower and add short passes rather than more heat. A few extra seconds at 250°F is always safer than one pass at 350°F.
When the Iron Touches the Print: Troubleshooting Damage
Damage from an iron usually falls into two buckets: reversible surface effects and permanent structural change. Knowing which one you are looking at tells you whether to act or to stop.
Shine or gloss. A glossy patch means the ink softened and re-flowed, then cooled with a smoother surface. This is usually cosmetic rather than structural. It will not fully reverse, but a cool gentle wash inside out and air-drying can reduce the sheen.
Tackiness or sticking. If the print feels sticky or the shirt sticks to itself, the ink is still soft. Let the shirt cool completely and flat before touching or folding it. Peeling a warm print apart can stretch or tear the ink layer.
Cracking. Fine cracks in the ink are permanent. They happen when the ink layer loses flexibility, often from too much heat or from washing and drying on high heat over time. You cannot fuse cracks back together at home.
Scorch marks. Brown or yellow discoloration on the fabric means the cotton itself burned, not just the ink. Stop ironing that area immediately. Scorching is permanent and weakens the fibers.
Ink transferred to the iron or barrier cloth. Wipe the soleplate only after it has cooled, following the iron manufacturer's cleaning guidance. Do not scrape a hot soleplate.
A useful rule: wrinkles are reversible, melted or cracked ink is not. If you are unsure whether a mark is shine or scorch, err on the side of stopping. One more pass will not undo damage, but it can deepen it.
If you are unsure what kind of print you are working with before you press, learn how to identify high quality screen printing on T-shirts first. And if residue has already transferred onto other fabric, our guide on how to remove vinyl residue from clothing covers safe removal methods.
Steamers, Air-Drying, and Other Ways to Skip the Iron
The safest ironing method is often no iron at all. A handheld steamer releases wrinkles without contact, so there's zero risk to the print. Hold it a few inches from the fabric and let the steam do the work.
Other low-risk options:
- Air-dry on a hanger right after washing to prevent most wrinkles
- Tumble dry on no heat with a clean towel to relax fibers
- Hang in a steamy bathroom for light creases
- Fold properly to avoid sharp creases in storage
For a wrinkle-free routine that skips the iron entirely, our 7 steps to fold heavyweight streetwear T-shirts properly keeps tees looking sharp without heat.
Frequently Asked Questions
Can you iron directly over a screen print?
No. A hot iron plate in direct contact with screen-printing ink can scorch the surface, make it shiny, or cause it to stick and peel. Always turn the shirt inside out and place a thin cotton pressing cloth between the iron and the graphic. Keep the iron on low to medium dry heat and keep it moving rather than holding it in one spot. If a crease sits right on the design, press from the reverse side briefly instead of working the front.
What is the safest temperature setting for ironing graphic tees?
Start at the lowest heat setting your iron offers and work up only if wrinkles hold. Most cotton and cotton-blend tees tolerate a low to medium dry setting, but the print is the limiting factor, not the fabric. Turn off steam, since moisture plus heat is what pushes ink to stick and lift. Test on a hidden area such as the inside hem before you touch the visible design, and check the care label first.
Can I use a steamer instead of an iron on printed shirts?
A handheld steamer is the lower-risk option for any shirt with a graphic print. It relaxes wrinkles with moisture and gravity and never touches the ink, so there is no scorch, shine, or sticking risk. Hang the shirt, steam from the inside where possible, and let it air-dry flat or on the hanger. Steamers work well on heavyweight cotton, though sharp creases may need a light press afterward.
What should I do if my iron accidentally touches a screen print?
Lift the iron immediately and let the shirt cool completely before you touch the area. Do not pull or stretch warm ink. If the print looks shiny, slightly tacky, or has started to lift at an edge, stop ironing that shirt and wash it inside out in cold water, then air-dry. Small lifted edges may settle back down after a cold wash. If the ink has cracked or flaked, the damage is permanent and the design cannot be restored.
Ironing a graphic tee safely is about restraint: low heat, a barrier cloth, and short passes. Our original graphics are printed with DTG on 7.5 oz heavyweight tees, and they deserve the same care you'd give any piece you want to keep. Browse the latest drop at AW3SOME CLOTHES INC and find a design worth protecting.